Glossary Overview Cheat Sheet
| Method | Description | Best For | Color Limit | Cons |
|---|---|---|---|---|
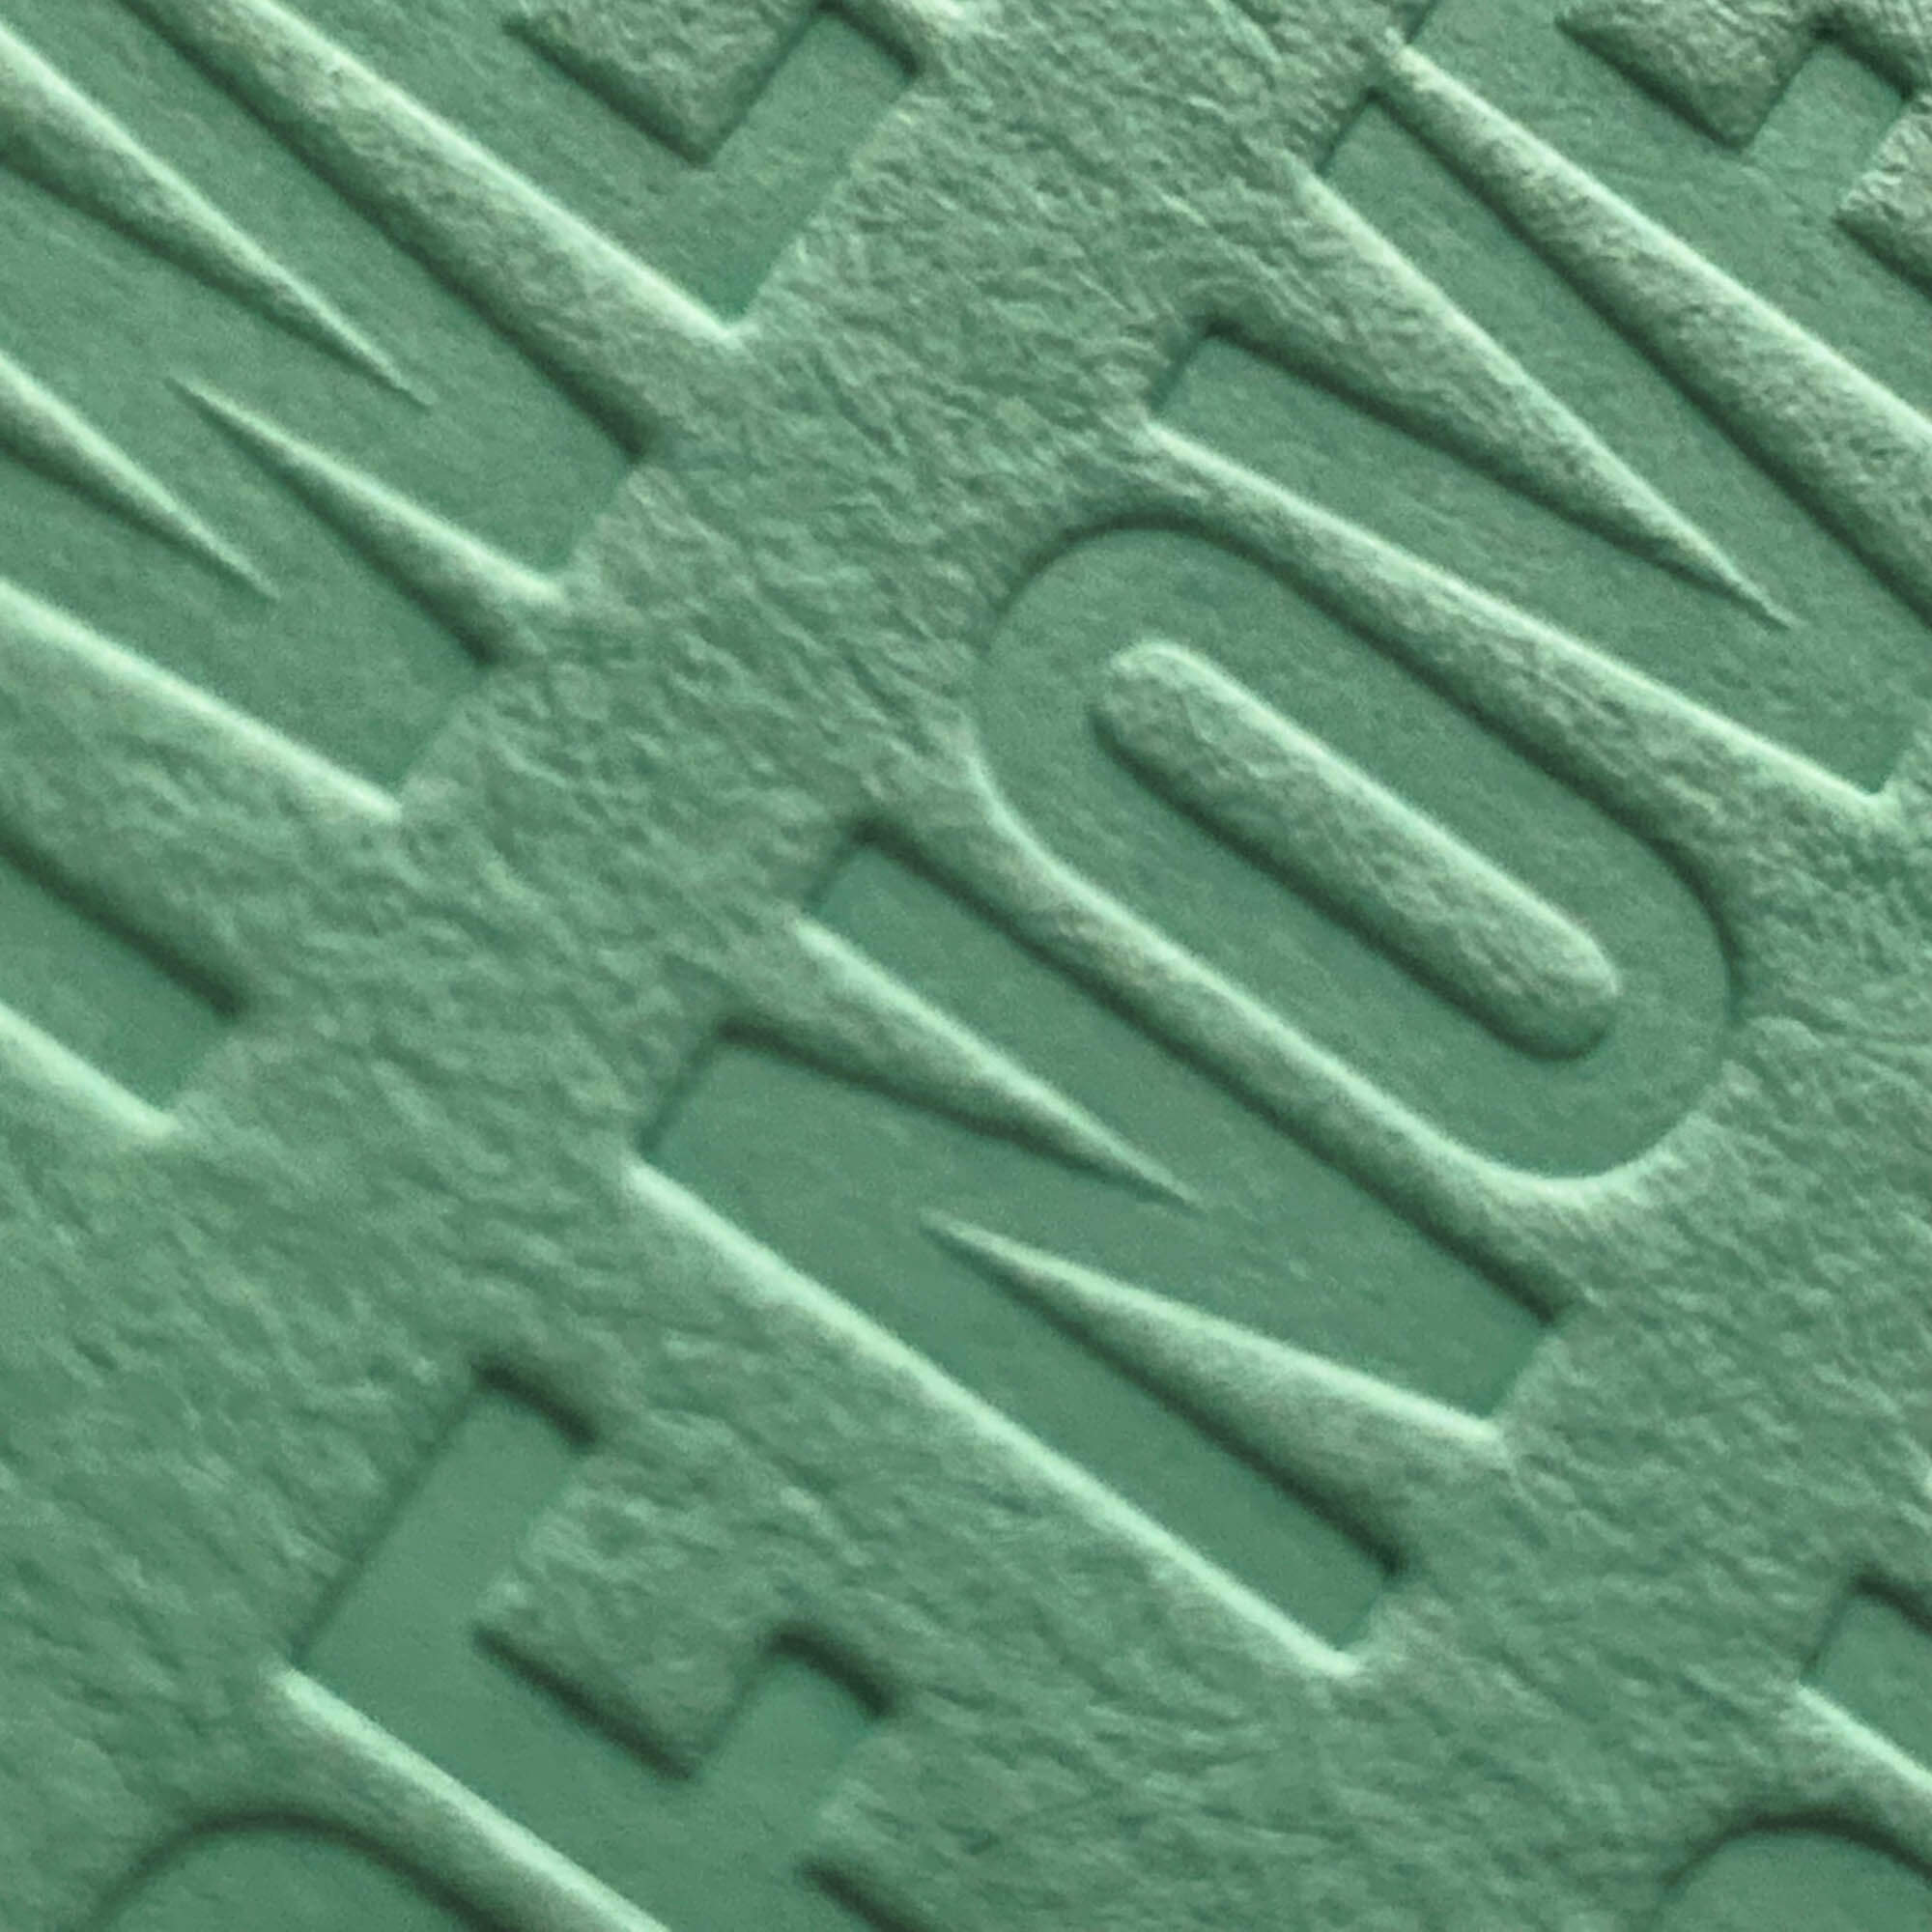
3D Embroidery | Foam‑backed stitching that creates a raised, sculpted look. | Caps, jackets, or structured items. | 2 colors best (up to 6 with approval) | Limited detail; only works on structured items. |
Debossing/Embossing | A custom die presses a design into (deboss) or raises it from (emboss) the material. | Subtle branding on leather, paper, or similar. | No colors | Limited to thicker materials; lower contrast effect. |
Digital Print (DTG) | Water‑based inks are printed directly onto the garment for full‑color detail. | Full‑color, detailed prints on cotton. | Unlimited | Colors can fade faster than plastisol inks. |
Digital‑to‑Film (DTF) | Design is printed to film, coated with adhesive, then heat‑pressed to the garment. | Vibrant prints on any fabric. | Unlimited | Less breathable than direct prints; can wear with heavy use. |
Embroidered Patches | Machine-embroidered designs on patch backing, attached by sewing, heat press, or adhesive. | Uniforms, jackets, hats, and event merchandise. | Thread colors only | Not suitable for highly detailed or photographic artwork; very small text may not stitch well. |
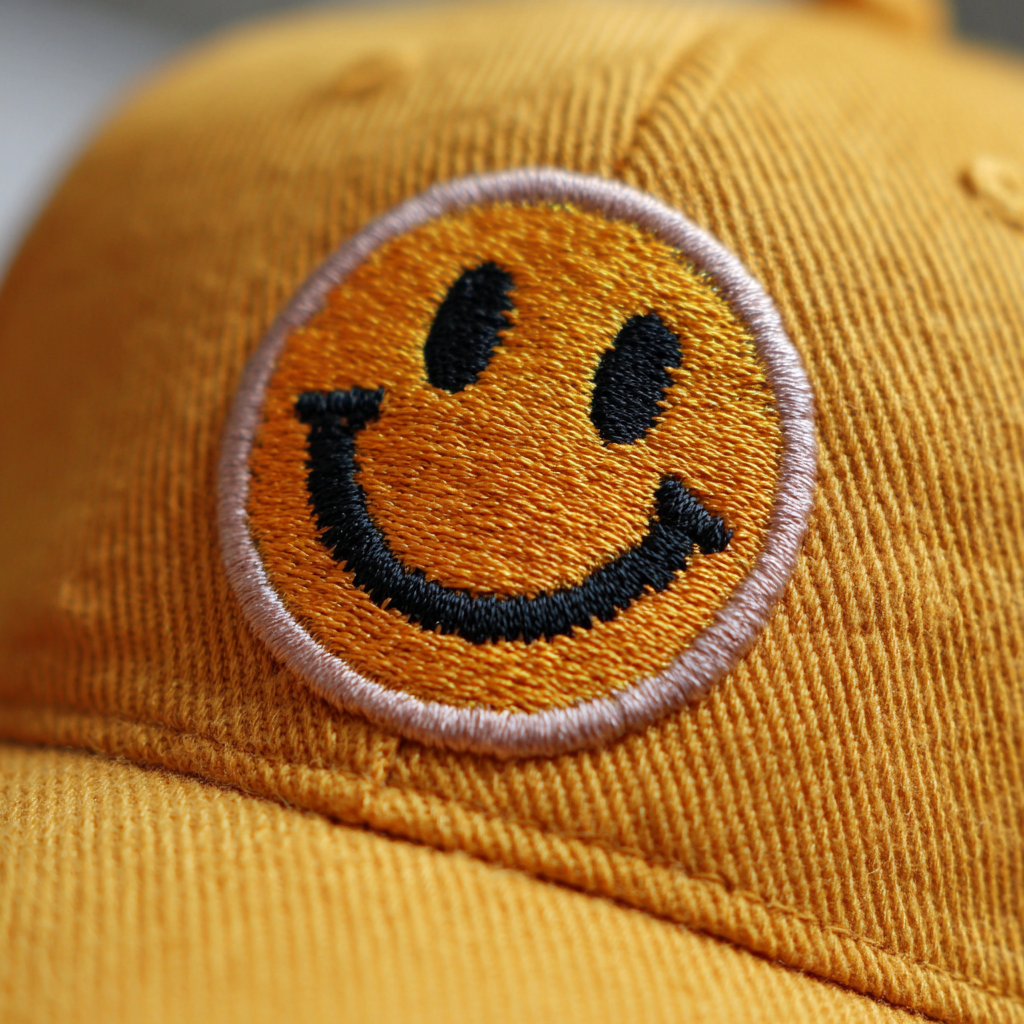
Embroidery | Thread‑stitched designs applied directly onto fabric. | Logos or text on sturdy fabrics. | Thread colors only | Not ideal for very small details or thin fabrics. |
Flocking | Fine fibers are applied to create a velvet‑like raised texture. | Soft, textured designs. | Up to 4 colors | Fibers can flatten with wear and washing. |
Foil Stamp | A heated metal die transfers foil onto the surface using heat and pressure. | Premium metallic accents on firm surfaces. | 1 foil color per pass; metallic, pigment, holographic, or clear foils | Requires a custom metal die; limited fine detail; large solid areas can show imperfections; not suitable for highly flexible fabrics. |
Foil Transfer | Metallic foil is bonded to adhesive in the design under heat and pressure. | Shimmer or metallic effects. | 1 color | Can crack or peel over time; best for bold shapes. |
Full Color (Hard Goods) | UV-cured CMYK inks (with optional white) are printed directly onto hard goods for durable, full-color decoration. | Photographic or complex multi-color designs on hard goods. | Unlimited (full color CMYK; white underbase as needed) | Less suited to heavy textures or extreme curves; dark substrates need a white underbase; prolonged UV exposure can fade if inks are not UV-stable. |
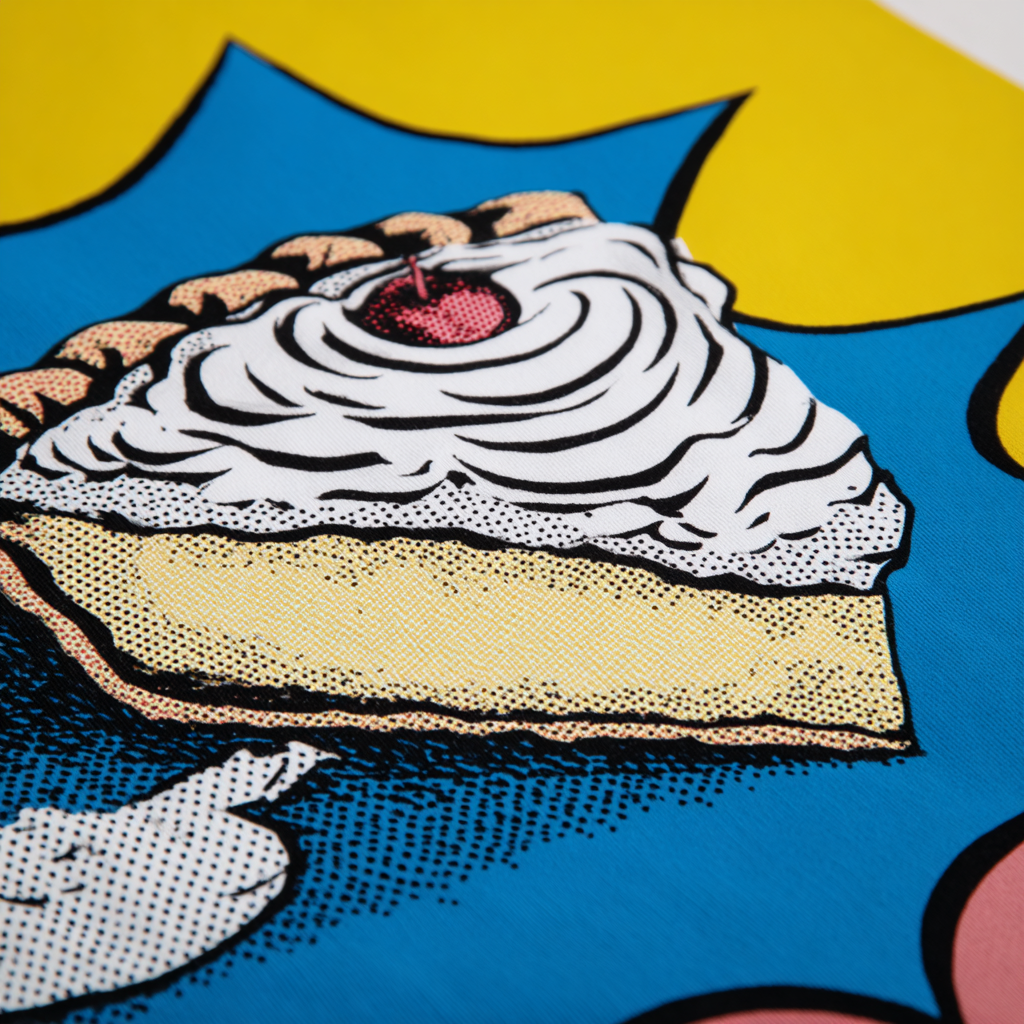
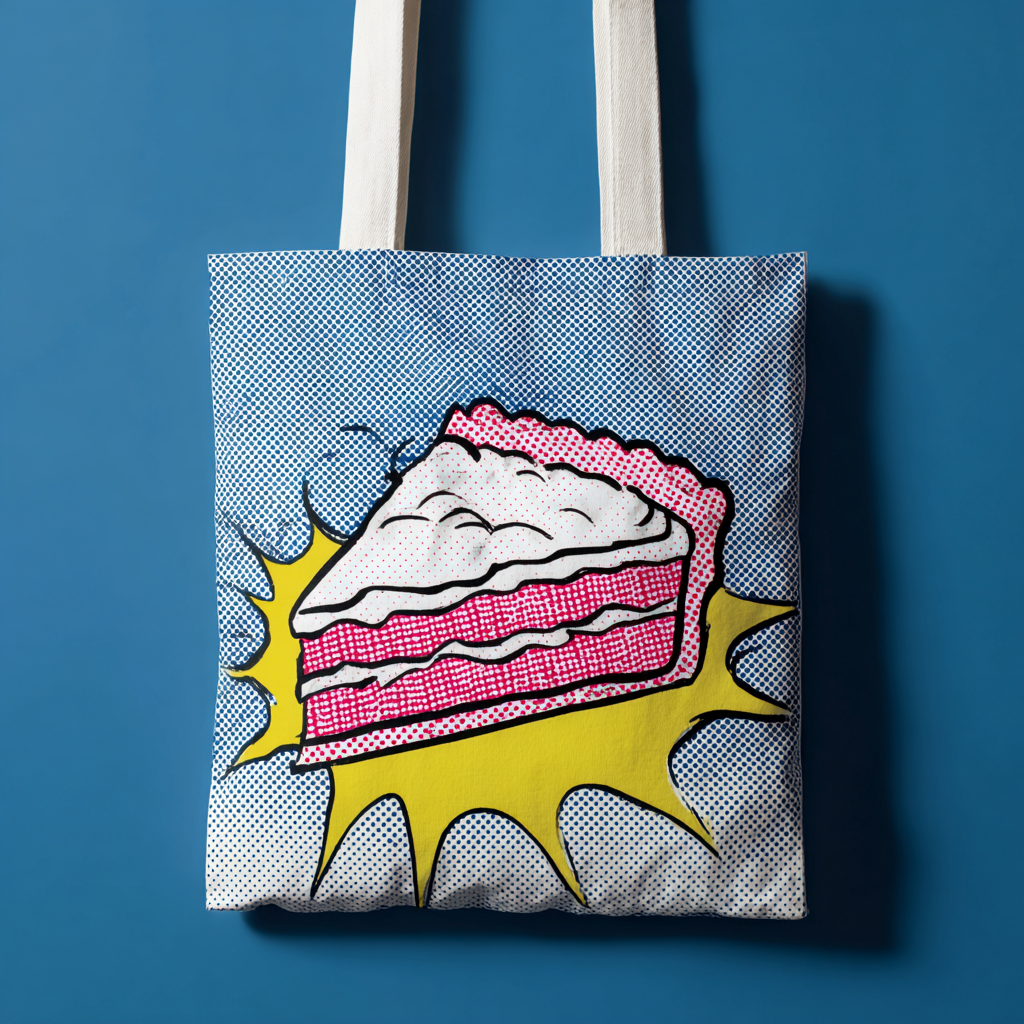
Heat Transfer | Full‑color design printed to transfer film and applied with heat and pressure. | Full‑color, detailed artwork on apparel, bags, and heat‑safe flat hard goods. | Unlimited | Less breathable and can feel heavier than direct prints; not suited to highly textured or heat-sensitive surfaces; for very large runs, screen printing may be more cost-effective. |
Hot Stamping | A heated metal die presses metallic or pigmented foil directly into the surface of materials. | Ribbons, packaging, and luxury goods branding. | 1 color at a time (metallics, pigments, holographic foils) | Large solid areas can show flaws; requires custom dies; not suitable for apparel or fabric. |
Laser Engraving | A laser burns or etches your design into the surface of the item. | Precise, tone‑on‑tone marks. | No colors | Works only on certain hard materials; permanent. |
Laser Etching | A high-powered laser removes a thin layer of material to create precise, permanent tone-on-tone marks. | Precise, detailed logos, text, and serial numbers. | No colors (tone-on-tone only) | No color options; time-intensive for large coverage areas; not suitable for soft materials. |
Laser Patches | Laser-cut and etched patches made from leather or specialty materials for premium branding. | Premium hats, outerwear, and bags. | Limited to material and etching contrast | Very small text can blur when etched; limited to material color contrast. |
Logo Domes | Clear polyurethane epoxy resin poured over printed designs to create glossy, dimensional labels. | Keychains, nameplates, tech items, and promotional giveaways. | Unlimited (full-color digital printing) | Rigid dome not suitable for flexible items; may peel on very small products. |
Pad Printing | Ink is transferred from an etched plate to the product using a silicone pad. | Small, detailed logos and text on hard goods. | Up to 4 spot colors (each requires a separate plate) | Not suitable for large artwork or full-wrap designs; limited color blending; more setup per color. |
Puff Screen Print | Raised plastisol ink that expands when cured to create a 3D texture. | Bold text or shapes with dimension. | Up to 2 colors | Can crack over time and with heavy stretching; limited detail. |
Reflective Transfer | Heat‑applied reflective material for high‑visibility decoration. | High‑visibility safety or sportswear. | Limited | Reflective layer can wear with washing. |
Screen Printing | Ink is pushed through mesh screens to apply each color onto the garment. | Bold, solid designs. | Up to 9 colors | Requires separate screens per color; less cost‑effective for small runs. |
Sublimation | Dye turns to gas under heat and bonds with polyester fibers. | Seamless, full‑color prints on polyester. | Unlimited | Only works on polyester/poly‑coated items; can fade in sunlight. |
Vinyl Transfer | Cut vinyl or pre‑printed films are applied with heat and pressure. | Names and numbers on jerseys. | 1 color | Sticker‑like feel; can peel over time. |
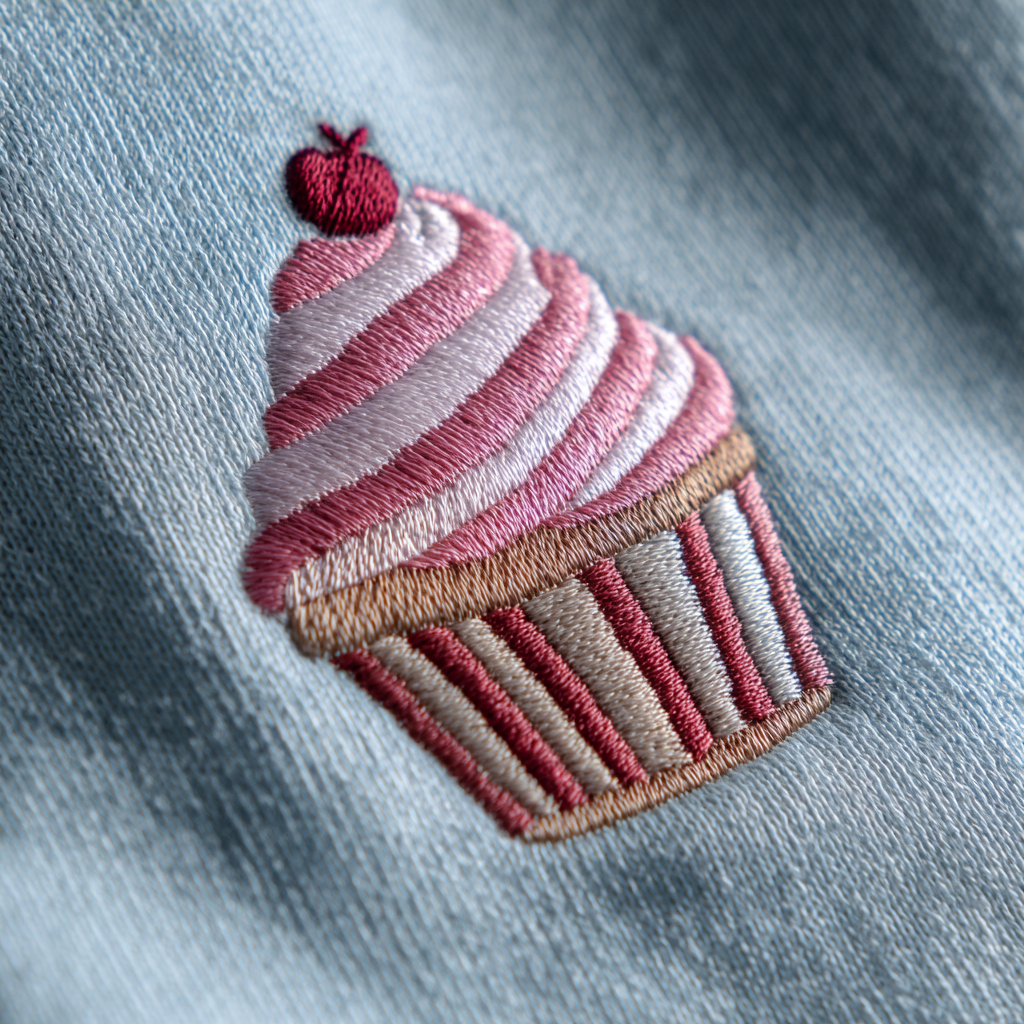
3D Embroidery
Foam‑backed stitching that creates a raised, sculpted look. Works best on structured caps and thicker materials. Provides a bold, dimensional logo effect.

Originating in sportswear, especially baseball caps, 3D embroidery uses foam under the stitching to create a pronounced raised effect.
- Best: Vector (.AI, .EPS)
- Simplified artwork for best stitch coverage
- Design digitized for 3D foam.
- Foam placed on garment surface.
- Embroidery stitches over foam to create height.
- Excess foam trimmed away.
- Caps, jackets, structured bags
- Bold logos with depth
- Fine detail or delicate fabrics
- Unstructured garments
- 2 colors best (up to 6 with approval)
- Limited detail
- only works on structured items.
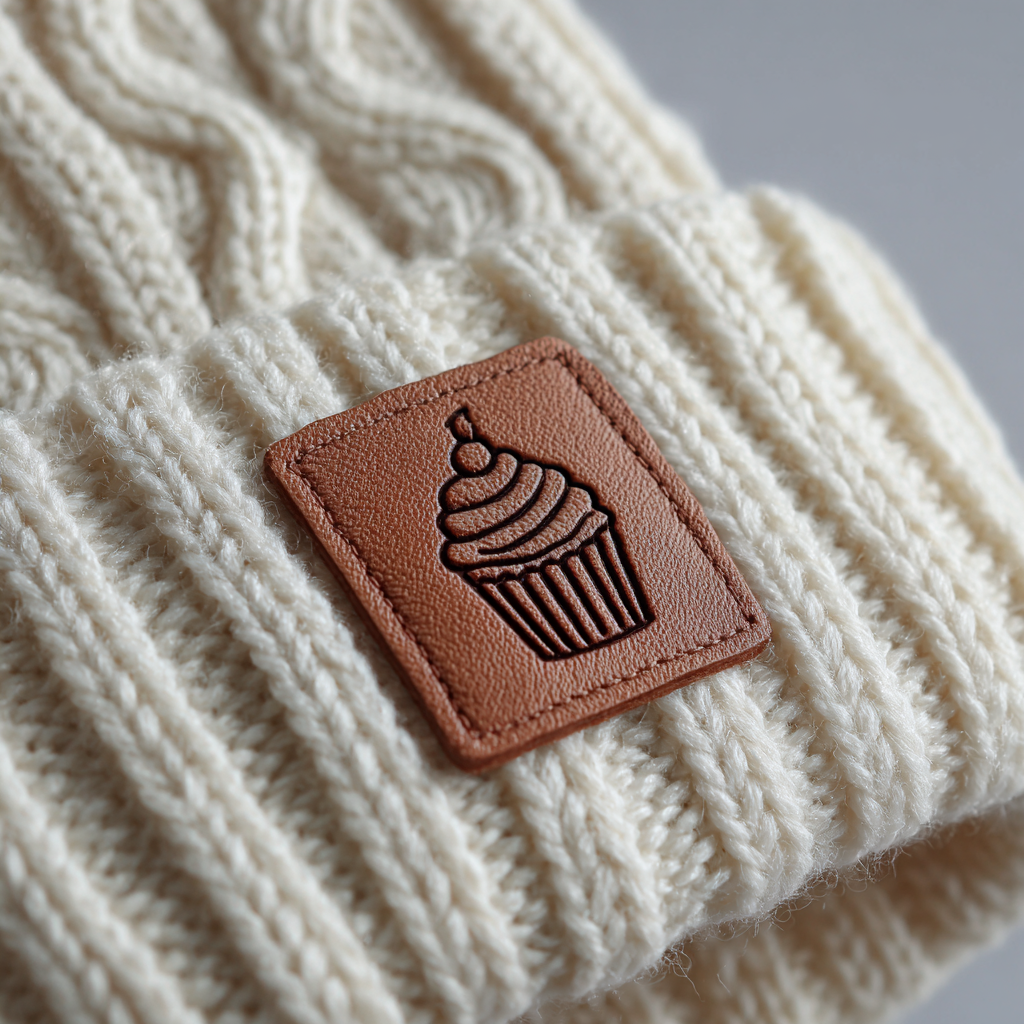
Debossing/Embossing
A custom die presses a design into (deboss) or raises it from (emboss) the material. Creates a subtle, tactile impression commonly used on leather goods, stationery, and premium packaging.
Centuries-old leather and paper technique, still common for luxury branding.
- Best: Vector (.AI, .EPS)
- Simple, bold artwork
- Metal die created with design.
- Heat and pressure applied to press in (deboss) or raise (emboss) design.
- Leather goods, stationery
- Subtle branding
- Thin materials
- High-detail graphics
- No colors
- Limited to thicker materials
- lower contrast effect.
Digital Print (DTG)
Water‑based inks are printed directly onto the garment for full‑color detail. Great for complex, photographic artwork on cotton garments. Softer hand feel than transfers but may fade faster than plastisol.
Emerging in early 2000s, DTG adapted inkjet technology for textiles, making on-demand printing accessible.
- Best: 300 DPI PNG with transparent background, RGB mode
- Vector acceptable; raster art must be high-res
- Garment pretreated for ink adhesion.
- Placed on platen in DTG printer.
- Inks printed directly into fibers.
- Heat-pressed or tunnel-dried to cure.
- Full-color photographic or gradient designs
- Short runs on cotton garments
- Polyester or blends without pretreatment
- Heavy ink coverage on dark shirts
- Unlimited
- Colors can fade faster than plastisol inks.
Digital‑to‑Film (DTF)
Design is printed to film, coated with adhesive, then heat‑pressed to the garment. Vibrant, durable color across nearly any fabric type, including blends and performance wear.
Developed in the late 2010s as a flexible alternative to DTG, allowing full-color transfers to any fabric.
- Best: 300 DPI PNG, transparent background
- RGB mode preferred
- Artwork printed onto PET film with textile inks.
- Adhesive powder applied to wet ink.
- Film heat-pressed to garment.
- Backing peeled away, leaving design.
- Vibrant art on any fabric type
- Short to medium runs
- Ultra-breathable athletic wear
- Designs where softness is key
- Unlimited
- Less breathable than direct prints
- can wear with heavy use.
Embroidered Patches
Machine-embroidered designs on patch backing, attached by sewing, heat press, or adhesive. Traditional patches with thread-based texture and bold outlines. Widely used for branding and decoration on uniforms and apparel.
Embroidered patches date back to military insignias and uniforms in the 19th century and are still widely used for branding and decoration today.
- Best: Vector artwork (.AI, .EPS) for digitizing
- Simplified designs work best for thread conversion
- Artwork is digitized into a stitch pattern.
- Threads are machine-embroidered onto a patch backing.
- The patch is finished with a stitched or heat-sealed border.
- It's attached by sewing, heat press, or adhesive.
- Uniforms, jackets, hats, and event merchandise
- Logos with bold outlines and thread-based texture
- Highly detailed, photographic, or gradient artwork
- Very small text or thin lines
- Thread colors only
- Not suitable for highly detailed or photographic artwork
- very small text may not stitch well.
Embroidery
Thread‑stitched designs applied directly onto fabric. Classic, durable decoration with a premium look. Ideal for logos on hats, polos, fleeces, and heavier garments.
An ancient decorative technique dating back thousands of years, adapted to machines in the mid-1800s for faster production.
- Best: Vector (.AI, .EPS) for digitizing
- Avoid raster unless extremely high-res
- Design is converted into a stitch file (digitizing).
- Garment hooped in embroidery frame.
- Automated machine stitches thread onto fabric.
- Backing removed, threads trimmed.
- Logos or small graphics on polos, hats, jackets
- Premium, durable branding
- Fine detail or tiny text
- Very thin/stretch fabrics
- Thread colors only
- Not ideal for very small details or thin fabrics.
Flocking
Fine fibers are applied to create a velvet‑like raised texture. Soft, tactile finish for retro or premium looks. Works best with bold shapes and medium line weights.
Dating back centuries in wallpaper, adapted to apparel for soft, textured graphics.
- Best: Vector (.AI, .EPS)
- Avoid gradients; solid fills only
- Adhesive printed in design shape.
- Short fibers applied electrostatically.
- Excess fibers removed, design cured.
- Soft, tactile logos or letters
- Bold, simple shapes
- Detailed photographic prints
- Heavy-wash garments
- Up to 4 colors
- Fibers can flatten with wear and washing.
Foil Stamp
A heated metal die transfers foil onto the surface using heat and pressure. Delivers a premium, metallic or specialty finish for logos and accents on flat, firm materials.
Foil stamping, also called hot foil stamping, originated in the late 19th century as a luxury printing method for book covers, stationery, and packaging. Originally done with real gold leaf, it evolved into using metallic and pigmented foils for a wider color range.
- Best: Vector artwork (.AI, .EPS, .SVG) for clean die creation
- Solid shapes only—no gradients or raster effects
- Minimum line weight: ~0.25 pt for best transfer quality
- A custom metal die is engraved with the design.
- The die is heated and aligned over the target surface.
- Foil (metallic, pigment, holographic, or clear) is placed between the die and the substrate.
- Heat and pressure transfer the foil to the surface in the die’s shape.
- Premium logos, monograms, and decorative accents
- Stationery, notebooks, gift boxes, leather items
- Metallic or specialty finishes that stand out without ink
- Large areas of solid foil (can show imperfections)
- Extremely detailed or thin lines that may not transfer evenly
- Highly flexible fabrics (foil can crack when bent repeatedly)
- 1 foil color per pass
- metallic, pigment, holographic, or clear foils
- Requires a custom metal die
- limited fine detail
- large solid areas can show imperfections
- not suitable for highly flexible fabrics.
Foil Transfer
Metallic foil is bonded to adhesive in the design under heat and pressure. Creates reflective, metallic finishes best suited for bold shapes and logos.
A fashion print staple since the 1970s, adding metallic sheen to apparel.
- Best: Vector (.AI, .EPS)
- Solid fills only
- Adhesive printed in design shape.
- Metallic foil sheet applied and heat-pressed.
- Excess foil removed, leaving metallic areas.
- Metallic accents, shimmer effects
- Bold shapes and lettering
- Fine details
- High-abrasion garments
- 1 color
- Can crack or peel over time
- best for bold shapes.
Full Color (Hard Goods)
UV-cured CMYK inks (with optional white) are printed directly onto hard goods for durable, full-color decoration. Commonly produced via flatbed or rotary UV digital printing for mugs, bottles, tech items, awards, and more. Enables photographic detail and gradients beyond spot colors.

Full-color printing on hard goods became common in the late 20th century as pad printing, digital UV printing, and heat transfer technologies evolved. It allowed promotional products to feature photographic or complex multi-color designs instead of just spot colors.
- Best: High-resolution (300 DPI at print size) raster files in RGB or CMYK
- Vector files (.AI, .EPS, .SVG) preferred for logos or line art
- Transparent PNG for graphics that require non-rectangular edges
- Avoid low-res JPEGs—pixelation will show in print
- Artwork is prepped digitally and color-separated if needed.
- The item is loaded onto a flatbed or rotary UV printer.
- UV-cured inks are jetted directly onto the surface in multiple passes for full color.
- Inks are instantly cured with ultraviolet light for durability.
- Other approaches include dye sublimation (for coated ceramics/metal), digital heat transfers, or direct pad printing with CMYK inks.
- Complex or photographic designs on mugs, bottles, notebooks, tech items, awards
- Short runs or personalization (names, variable data)
- Items with light-colored or white printable areas
- Surfaces with heavy texture or extreme curves (print can distort or miss areas)
- Very dark substrates without a white ink underbase (colors may not pop)
- Outdoor items exposed to heavy sun unless UV-stable inks are used
- Unlimited (full color CMYK
- white underbase as needed)
- Less suited to heavy textures or extreme curves
- dark substrates need a white underbase
- prolonged UV exposure can fade if inks are not UV-stable.
Heat Transfer
Full‑color design printed to transfer film and applied with heat and pressure. Allows complex, photographic artwork to be transferred without multi‑screen setups. Works across apparel and some hard goods with heat‑safe surfaces.
Heat transfer printing became commercially popular in the 1960s as an alternative to screen printing, allowing for complex designs to be transferred to a product’s surface without multi-screen setups. Originally used on fabrics, the process evolved with improved films, inks, and presses, and is now used on both apparel and hard goods.
- Best: High-resolution (300 DPI at print size) PNG or TIFF with transparent background for non-rectangular designs
- Vector (.AI, .EPS, .SVG) accepted for solid-color artwork, converted to CMYK before printing
- Avoid low-res JPEGs; pixelation will be visible in final print
- Include bleed if design runs to edges of the transfer area
- Artwork Preparation — Design is created digitally, typically in CMYK color mode.
- Printing to Transfer Film — The artwork is printed directly onto a special transfer film using full-color CMYK printing (and optionally a white underbase for dark surfaces).
- Heat & Pressure Application — The printed film is placed onto the item, then pressed with controlled heat and pressure to bond the design to the surface.
- Carrier Removal — Once cooled slightly, the film carrier is peeled away, leaving the printed design adhered to the product.
- Full-color, detailed artwork and photographic images
- Small to medium runs with multiple colors at no extra cost
- Apparel, bags, and certain flat hard goods with heat-safe surfaces
- Highly textured or heat-sensitive surfaces
- Large runs where screen printing may be more cost-effective
- Ultra-breathable athletic fabrics (transfer layer may reduce breathability)
- Unlimited
- Less breathable and can feel heavier than direct prints
- not suited to highly textured or heat-sensitive surfaces
- for very large runs, screen printing may be more cost-effective.
Hot Stamping
A heated metal die presses metallic or pigmented foil directly into the surface of materials. Creates elegant, permanent foil impressions on ribbons, packaging, leather goods, and other flat surfaces. Perfect for luxury branding and specialty items.
Hot stamping (also called foil stamping) originated in the late 19th century as a way to press metallic foils into book covers and stationery. Over time, the technique was adapted for branding ribbons, packaging, leather, and other specialty promotional items.
- Best: Vector artwork (.AI, .EPS, .SVG) for clean die creation
- Solid fills only — no gradients, photographs, or halftones
- Minimum line weight of ~0.25 pt for reliable transfer
- A custom die is engraved with the artwork.
- The die is heated and aligned over the surface.
- A roll of metallic or pigmented foil is placed between the die and material.
- Heat and pressure press the foil into the surface, transferring the design.
- Excess foil is removed, leaving a crisp, shiny impression.
- Ribbons, packaging, and luxury goods branding
- Metallic or pigmented accents (gold, silver, holographic, etc.)
- Elegant, subtle logos or monograms
- Large solid areas of foil (can show flaws)
- Photographic or gradient designs
- Items with highly uneven or heat-sensitive surfaces
- 1 color at a time (metallics, pigments, holographic foils)
- Large solid areas can show flaws
- requires custom dies
- not suitable for apparel or fabric.
Laser Engraving
A laser burns or etches your design into the surface of the item. Produces precise, permanent tone‑on‑tone marks on materials like metal, wood, glass, or coated surfaces.
Introduced in manufacturing in the 1960s, laser engraving became common in branded hard goods by the 1980s.
- Best: Vector paths for precision
- High-res raster possible for engraving images
- Laser beam etches design into surface.
- Controlled depth for shading effects.
- Metal, wood, leather branding
- Permanent marks
- Fabrics
- Designs requiring color
- No colors
- Works only on certain hard materials
- permanent.
Laser Etching
A high-powered laser removes a thin layer of material to create precise, permanent tone-on-tone marks. Produces clean, detailed designs on hard surfaces with minimal depth. Perfect for precise branding that won't wear off over time.
Laser etching emerged in the 1960s alongside industrial laser technology and became widely used for branding promotional products in the 1980s–1990s. Today it's a premium method for precise, permanent decoration on hard goods.
- Best: Vector artwork (.AI, .EPS, .SVG) for crisp etching
- High-resolution raster files (300 DPI) can be used for shaded or photographic effects
- Convert text to outlines to avoid font issues
- Artwork is converted into vector linework or raster shading.
- A high-powered laser beam is directed onto the product surface.
- The laser removes a thin layer of material to create the design.
- Depth, shading, and detail are controlled by laser speed and intensity.
- The result is a clean, permanent, tone-on-tone mark.
- Metal, wood, glass, and leather products (e.g., tumblers, knives, keychains)
- Precise, detailed logos, text, and serial numbers
- Permanent branding that won't wear off
- Fabrics or soft materials
- Designs requiring vibrant colors (etching is tone-on-tone only)
- Very large coverage areas (time-intensive)
- No colors (tone-on-tone only)
- No color options
- time-intensive for large coverage areas
- not suitable for soft materials.
Laser Patches
Laser-cut and etched patches made from leather or specialty materials for premium branding. Modern twist on traditional patches using laser cutting and etching to create precise shapes with engraved details. Popular on hats, bags, and premium apparel.
Laser patches are a modern twist on traditional patches, using laser cutting and etching to create precise shapes and engraved details on leather, faux leather, or other specialty materials. They've become popular on hats, bags, and premium apparel.
- Best: Vector artwork (.AI, .EPS, .SVG) for both cutting and etching
- Raster files (300 DPI) can be used for shaded etching effects
- Material (usually leather or faux leather) is cut into patch shapes using a laser.
- The same laser can etch logos, text, or patterns directly into the surface.
- The patch is then heat-pressed or stitched onto the product.
- Premium hats, outerwear, and bags
- Subtle, tone-on-tone branding with modern appeal
- Very small text (can blur when etched)
- Complex multi-color logos (limited to material and etching contrast)
- Limited to material and etching contrast
- Very small text can blur when etched
- limited to material color contrast.
Logo Domes
Clear polyurethane epoxy resin poured over printed designs to create glossy, dimensional labels. Also called dome labels or epoxy domes, these add a premium dimensional finish that magnifies logos underneath. Popular for hard goods branding.
Logo domes (also called dome labels) became popular in the 1980s for adding a glossy, dimensional finish to flat logos on hard goods.
- Best: High-resolution (300 DPI) raster or vector files
- CMYK setup for full-color printing
- Artwork is printed (usually full-color digital).
- A clear polyurethane epoxy resin is poured over the design.
- The resin cures into a thick, glossy dome that magnifies the logo underneath.
- The finished dome is applied to products with strong adhesive.
- Keychains, nameplates, tech items, and promotional giveaways
- Full-color logos that need a premium, dimensional finish
- Flexible or soft items (the dome is rigid)
- Very small products where the dome may peel
- Unlimited (full-color digital printing)
- Rigid dome not suitable for flexible items
- may peel on very small products.
Pad Printing
Ink is transferred from an etched plate to the product using a silicone pad. Allows printing on irregular and curved surfaces where other methods struggle. Perfect for small, detailed logos and text on hard goods.
Pad printing (also called tampo printing) originated in Switzerland in the 1960s, adapted from techniques used to print watch faces. It quickly spread to promotional products because it allows printing on irregular and curved surfaces where other methods struggle.
- Best: Vector artwork (.AI, .EPS, .SVG) for crisp etching
- Solid colors only; each color requires a separate plate
- Avoid raster images and gradients
- Artwork is etched into a printing plate (cliché).
- Ink is spread over the plate, filling the etched areas.
- A silicone pad presses onto the plate, picking up the inked image.
- The pad then presses onto the product, transferring the design.
- Ink dries or is cured depending on the substrate.
- Small, detailed logos and text on hard goods (pens, drinkware, keychains, tech items)
- Printing on irregular or curved surfaces
- Spot-color decoration with precision
- Large artwork or full-wrap designs
- Photographic or gradient-heavy images (limited color blending)
- Very large print areas
- Up to 4 spot colors (each requires a separate plate)
- Not suitable for large artwork or full-wrap designs
- limited color blending
- more setup per color.
Puff Screen Print
Raised plastisol ink that expands when cured to create a 3D texture. Adds dimensional texture and a soft lofted feel to bold shapes and letterforms. Works best with simple artwork and fewer colors.
An offshoot of traditional screen printing, puff printing became popular in the 1980s and 1990s in streetwear and athletic apparel for its tactile, raised look.
- Best: Vector (.AI, .EPS, .SVG)
- Also Works: 150–300 DPI PNG or JPEG at print size with solid fills
- Avoid gradients and anti-aliasing
- Design is separated into colors (max 2 for puff).
- Screens are prepared with light-sensitive emulsion.
- Special puff additive is mixed into plastisol ink.
- Ink is pushed through the screen onto the garment.
- Heat curing causes the ink to expand and rise.
- Bold block text or simple shapes with depth
- Designs meant to add texture and stand out visually
- Fine details or small text (edges can blur when puff expands)
- Large runs with high detail
- Photographic images
- Up to 2 colors
- Can crack over time and with heavy stretching
- limited detail.
Reflective Transfer
Heat‑applied reflective material for high‑visibility decoration. Adds reflective safety or styling accents, commonly used on workwear and activewear.
Adopted from safety gear production in the 1980s for visibility in low light.
- Best: Vector paths (.AI, .EPS)
- Bold shapes for best reflection
- Reflective film cut or printed.
- Heat-applied to garment.
- Safety apparel, activewear
- Night visibility
- Highly detailed artwork
- Wash-intensive items without care instructions
- Limited
- Reflective layer can wear with washing.
Screen Printing
Ink is pushed through mesh screens to apply each color onto the garment. Durable, vibrant prints especially suited for solid spot colors. Setup requires separate screens per color, so larger runs are more cost‑effective.
Over 1,000 years old, screen printing originated in China during the Song Dynasty and became a commercial standard for posters, signage, and apparel in the 20th century.
- Best: Vector (.AI, .EPS, .SVG)
- High-res raster 150–300 DPI at print size with solid colors only
- Design separated into solid colors.
- Each color burned onto its own mesh screen.
- Ink pushed through open mesh areas with a squeegee.
- Layers built up for multi-color designs.
- Prints heat-cured for durability.
- Bold, solid-color designs
- Pantone color matching
- Large-volume production
- Smooth gradients without halftones
- Very fine photographic detail
- Small runs (setup cost high)
- Up to 9 colors
- Requires separate screens per color
- less cost‑effective for small runs.
Sublimation
Dye turns to gas under heat and bonds with polyester fibers. Enables seamless, full‑color all‑over prints with zero hand feel on polyester or poly‑coated items.
Developed in the 1950s for printing on polyester, popularized in sportswear in the 1980s.
- Best: 300 DPI RGB raster at full size
- Vector also accepted for scaling
- Artwork printed with sublimation inks onto transfer paper.
- Heat turns ink into gas, bonding it into polyester fibers.
- All-over prints on polyester
- Photo-quality designs
- Cotton or dark garments
- Short-run multi-material orders
- Unlimited
- Only works on polyester/poly‑coated items
- can fade in sunlight.
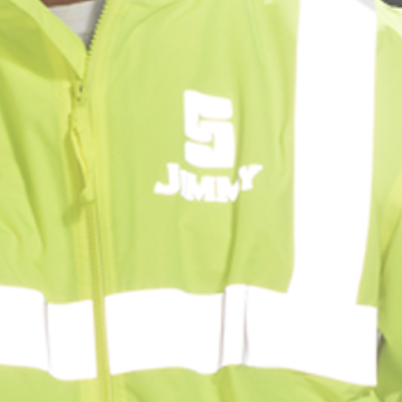
Vinyl Transfer
Cut vinyl or pre‑printed films are applied with heat and pressure. Ideal for names, numbers, and simple single‑color logos. Fast setup and great for personalization.
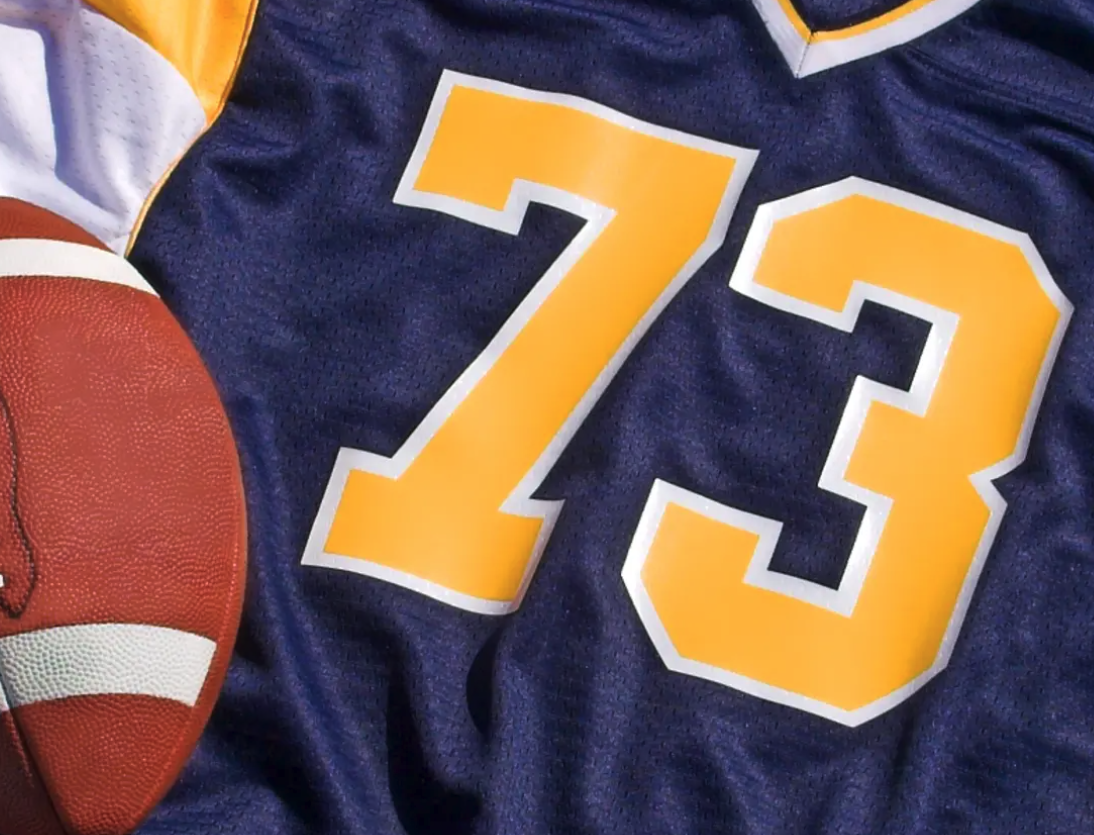
Used since the 1960s for sports jerseys and custom names/numbers.
- Best: Vector paths for cutting (.AI, .SVG)
- Solid colors only
- Vinyl cut to shape (or printed then cut).
- Weeded to remove excess.
- Heat-pressed onto garment.
- Single-color names/numbers
- Sports uniforms
- Complex multi-color designs
- Fine details
- 1 color
- Sticker‑like feel
- can peel over time.